Billy Marsh
Designer - He/Him
Achroma Animations
A while ago I managed to get a job at lush's digital department working for Realm Runner Studios, Realm Runner develop a game called Achroma which is a beautifully illustrated fantasy card game for 2 or more players. Across the Five Realms, the ravages of a dark energy called Achrom is spreading, diminishing the magical life force called Chroma. Deploy your Achroma cards to gain, drain and steal your way to victory in this fast, fun, tactical game.
My work at Achroma involved animating characters and creating parallax backgrounds for their base game and new expansion, this work involved separating and filling images for parallaxing and animation, rigging and animating 2D sprites in Unity and formatting assets into prefabs with particle systems.
Image Parallaxing and Preparations
The first part of the process when animating is to separate and prepare the sprites for import into Unity, to do this I use photoshop.
2D Sprite Rigging
To prepare the sprites I had two process', one for backgrounds and one for characters.

2D Character Sprite Preparation
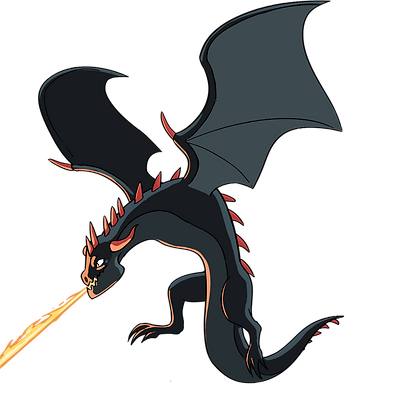
When preparing the sprites for export into the project, I open up the images in photoshop and for every sprite create a separate layer to crop just the characters eyes out. With this I use the colour picker to draw the eyes shut which is necessary for later on to make the characters blink when being animated. Now I export the closed eyes layer separately into the project, most of the time this is the full process with the characters but occasionally some images will have parts that can be replaced with particle systems when in engine. For example, a dragon character might be breathing fire, if this is the case, I'll remove this effect so when animating the characters in engine later I can add a live particle system instead. You can see this example on the left if you hover over it.
2D Background Sprite Preparation
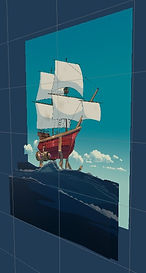
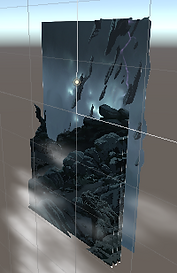
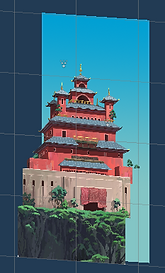
The backgrounds are a little trickier as they need to be parallaxed in engine, the process for this is to separate the image into different layers by separating objects that look like they're in the foreground and are closer to the camera against parts that look more background and further away from the camera. To do this I have to fill in the empty space that's left when separating the image into layers otherwise they'll be visible gaps when in engine and in-game. This means I'll use the colour picker or photoshops content aware fill feature to fill the surrounding the empty space in these layers. Sometimes this process takes a while as there can be a lot of layers to separate and occasionally can be quite a tricky filling task.
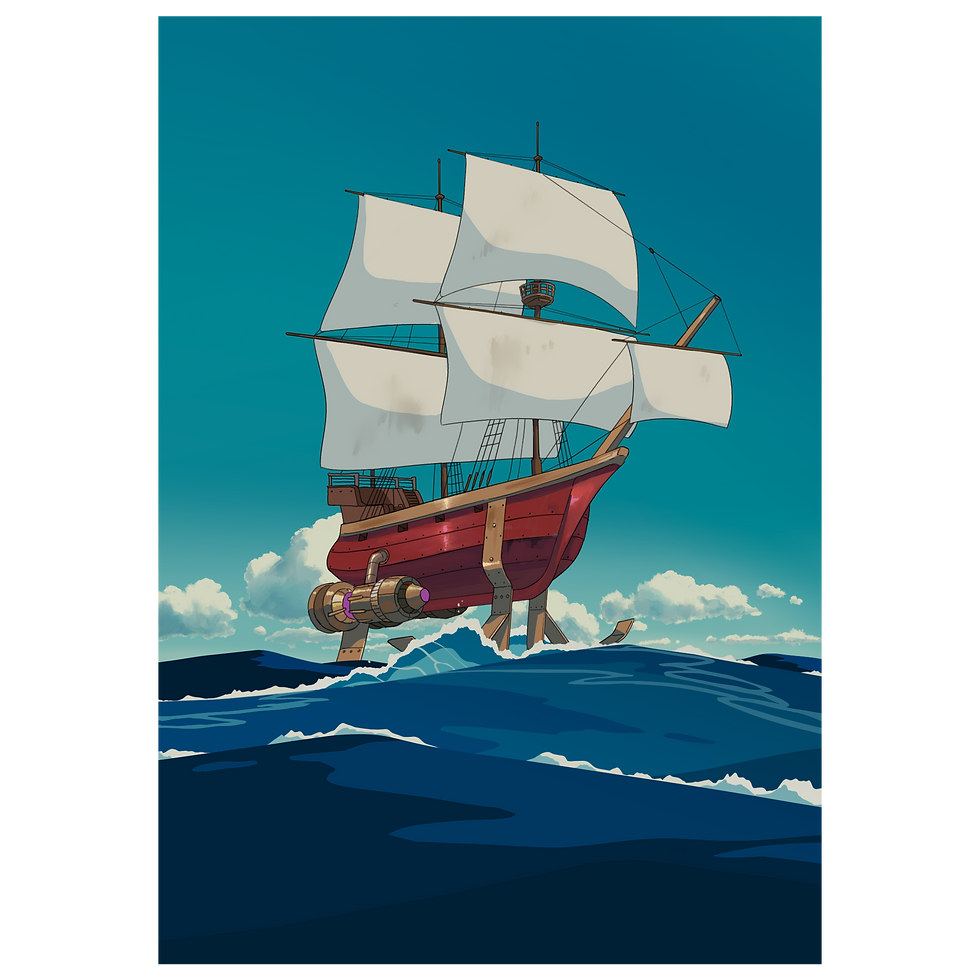
Full Image of the Vai Chaser

First layer for the Vai Chaser
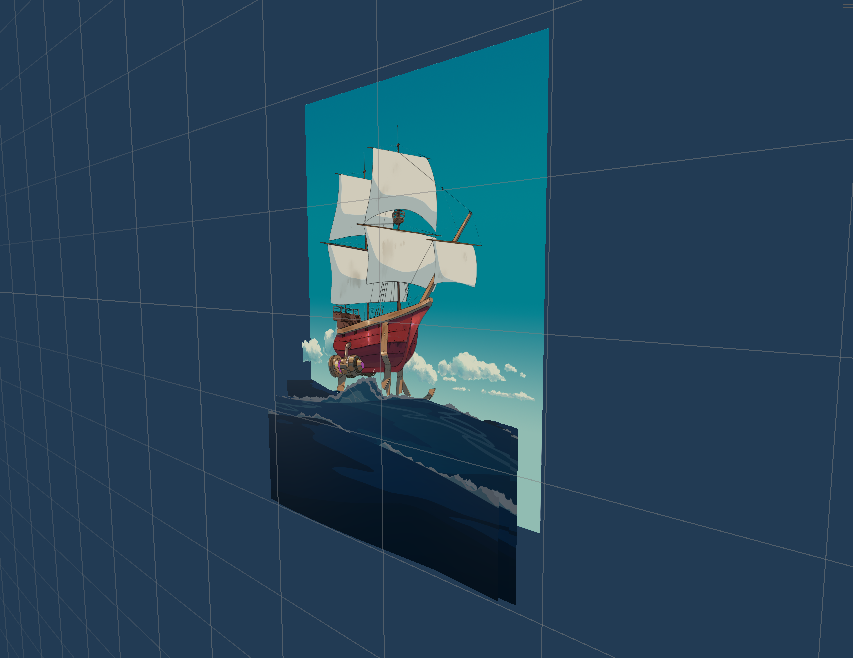
Vai Chaser parallaxed in engine
Full Image of the Vai Chaser

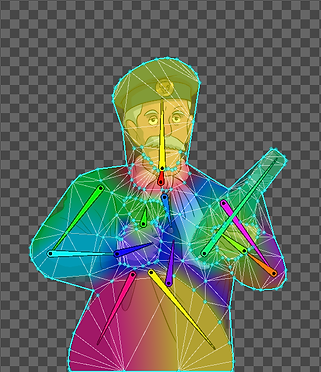
2D Sprite Rigging
Then in engine I use unity's 2D asset package to rig the character sprites. To do this I have to map out a skeleton of a character in Unity, this means arm bones are placed where arm bones would be and so on. Now when a detailed enough skeleton is done, I add vertexes to the character which separates the correct body parts to the correct bones which I then weigh to theses vertexes using the weight tool. After this is done, I apply the changes to the sprite and use a script to apply this rig to the sprite in the scene. I also occasionally rig some parts of the backgrounds, if there's a loose tree branch or birds in the background, I can add a simple rig the same way to give the background a bit of ambient movement in game. Check out an example of what the sprites look like weight by hovering over the left.
2D Sprite Animation
Then once the sprites are rigged, I add animators to them with looping animations. I can use the rig to move individual parts of the characters and backgrounds without moving the whole thing. So now I take the arms, chest, stomach, neck and head and rotate them all slightly in the animator to make a simple looking looping animation that makes the characters look like they're breathing. This takes a while as sometimes there's a lot of bones to animate but it normally pays off. After that the only thing left to do with the animation is to add the closed eyes sprites on top of the base sprites eyes as a child object of the head bone, so they move with the head. Then I use the animator to disable and enable the eyes sprite briefly to make it look as if the character is blinking.
Asset Formation and Prefabbing
Then once all the animating is done, I get ready to send the characters and backgrounds off into the game. To do this I go through the character sprites and place each one into an empty prefab, if any of the characters could use particle systems, like a breath of fire, I'll add them at this point just before exporting. On the right you can see the dragon from earlier in engine with fire added as a particle system.

For the backgrounds I need to layer the separate sprites still so I add each individual one and bring them forward or back depending on their positioning in the image. Then to add a little bit of extra effect for the parallaxing I add a parallaxing script to each sprite and adjust variables depending on distance which makes them seem like they move more when rotated on mobile. Once this is done, I do the same as the characters and add some particle systems to the backgrounds to make them look more alive.