Billy Marsh
Designer - He/Him
Base Game 3D Asset Kit
I've always found that when it came to starting out developing a new project there would always be process that are repeated before getting to work on the actual point of the project. So I decided to develop a selection of assets that are commonly used at the start of projects, the idea here being that in future projects I’ll be able to get right into the more complex and specific parts of ideas.
Typically These assets would be things like character controllers, environmental scripting, 3D models, 2D art (for sprite sheets and menu UI), sounds, and particle systems. For a project like this these assets should be commonly used items and processes within games development. For example, the player controllers shouldn’t feature specific functions that relate to specific mechanics but instead should only contain the typical functions being movement, jumping, sprinting and crouching.
File Structure and Planning
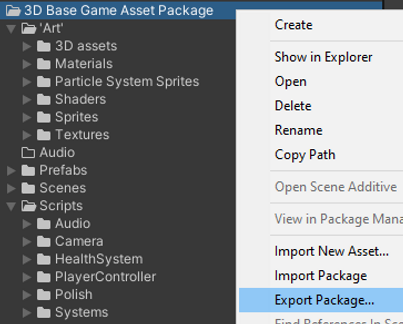
When I started work on this project I wanted to make sure that it remained open ended, so I decided to setup a GitHub repository and file system to suit. The repository contains an empty unity project, where I can prepare and collect the assets for export into a package, and a separate file system that contains all the WIP assets, things like blender, photoshop and illustrator files. This structure lets me come back to this project whenever I might need to, and get back to creating assets whenever convenient. When a asset kit is needed for a new project its as simple as opening the unity project and right clicking a folder and pressing 'Export Package...' letting the kit be pretty easily updated and developed without any pressure on it being 'completed'.
3D Models
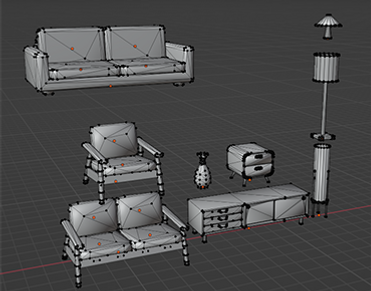
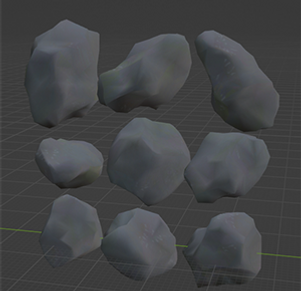
For the 3D models I wanted to make sure that a decent amount of general use props were developed, this included a modular kit and items like, trees, boulders, boxes, tables, chairs, etc. All of these models are created and textured in blender then exported as fbx's into the unity project. When modelling all of these pieces I made sure to optimize them for engine after completing a base poly, to do this I used blenders built in tools to help reduce the poly count. This included the decimate modifier which reduces poly count to amount your happy with while also making sure that you can still see the model the way you want it. Then after I double check the mesh to make sure no unwelcome errors have occurred when reducing polys and make sure its all triangulated or quadrilateral.
Modular Kit
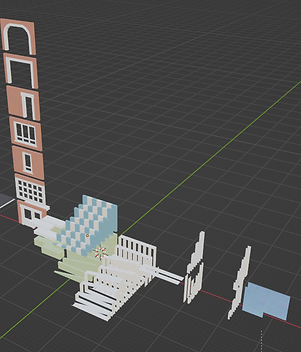
I wanted to make a few types of modular kits to help build the large parts of maps for new projects. At the time of writing this my most fleshed out and developed kit is the mid century one, this contains models inspired by mid century housing architecture. In the future I want to develop more kits, currently I have Industrial, Brutalist, Art Deco and Mediterranean themes in mind. To make the kit I had to create the models within specific dimensions in mind so that all the models fit together in engine. To do this I chose to develop the kit all within the same blender file and use specific numbers and math's when it came making the models. Using the same blender file meant I could easily and quickly compare the models together to make sure that they were still all fitting together and I could also use blender grids to make sure every model was remaining within the correct dimensions. I also decided to make corner pillars to help hide some of of the overlapping textures and meshes that some different models had in engine, this was helpful as it meant I have more wiggle room when it comes to putting all sorts of models together.



General Props
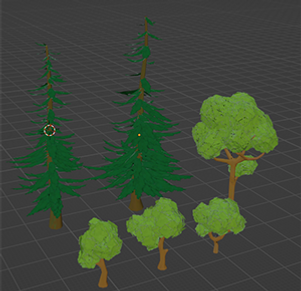
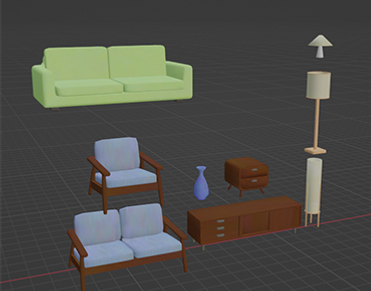
The 3D props are a selection of day to day items at the moment, as there’s quite a large list of props wanted there’s a lot to work through. Currently I have made few pieces of furniture and interior pieces to match the modular kit and some outside scenery like trees and boulders. Again these props were made in blender, so each prop is textured in blender and exported into unity ready to go.


2D Art
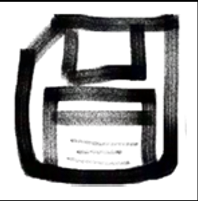
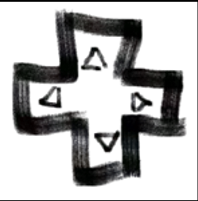
When creating the 2D art for this kit I wanted to keep it as general as possible, so when making menu UI assets and sprite sheets I took very general symbols for each and drew several different types of variations of this. I decided I wanted some onomatopoeia sprite sheets, things that illustrate emotions and physics. So I drew a bunch of different faces and physics indicators in HEAVYPAINT then imported these drawings into photoshop to separate into sprite sheets. Once this was done I sent these sprite sheets into engine and separated them into sprites accordingly. Another piece I focused on was the UI icons, again by drawing a lot of universally understood icons for each UI button, this included things like a settings icon, home icon, pause icon, etc. Then through the same process got these into engine as sprites.







Scripting
The scripting for this kit consists of simple but frequent mechanics used in most games (respawning, buttons, spawners, etc.) along with three player controllers.
General Use Mechanics
The general mechanics consist of a few simple functions that can be applied to most games, this would mean assets like spawnpoints, spawners and simple interactions (likes switches and buttons). When making these I had to make sure that each asset was modular and could be applied to as many foreseeable situations as possible, this meant considering how I could go about creating these assets to be as open ended as possible without having to rewrite code every time. To not take up too much space I’ll focus on how each of the assets achieve this modularity. When creating the spawnpoints the scripting needed to allow the developer to use whatever object they might want over as many spawnpoints they want.

To make the spawner spawn whatever object wanted all I decided the best way of going about this was to use prefabs that the developer can edit in whichever way they need, then they can place this prefab in the ‘Spawn Object’ variable of the spawner script. Each spawnpoint is decided by an object transform, these transforms are held in another public variable list and are simply the transforms of an empty object. The developer can also set a ‘max spawn amount’ which is an int variable that goes up and down depending on whether or not a spawned object is destroyed or not, if this hits the max spawn int then no more prefabs will be spawned.
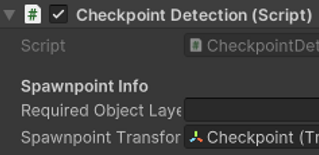
The spawnpoints for the player work similarly, if an object has travelled through a check collider and sends a ’destroyed’ signal, this object will get moved to a predefined transform set by the developer. This system can work for anything as the check collider script allows the developer to check for any object within a certain layer, then the only way the spawnpoint will update for that object will be dependent on whether the object layer matches the layer desired by the developer.
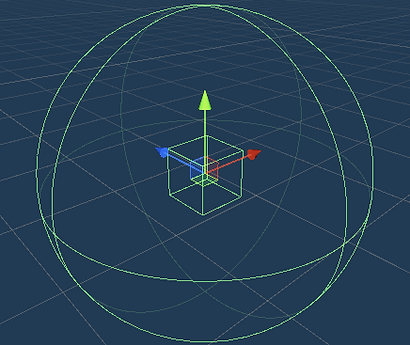
Another general mechanic that is present in most games is interactors, I wanted to make two type of interactors, one button and one switch. The way these work is that if the player is within a certain range of the interactable a collider will activate, also when in this range a script will send out a raycast pointing in the direction the camera is looking, if this raycast hits the activated collider this will active a script prompting to ‘press E’. If E is then pressed a script will activate any function required through a public unity event. There are two types of scripts that work slightly differently for the ‘press E’ function, one works as a button and one as a switch, the difference being a button is a one input thing that activates something once, a switch activates something until the switch is flipped back.
Player Controllers
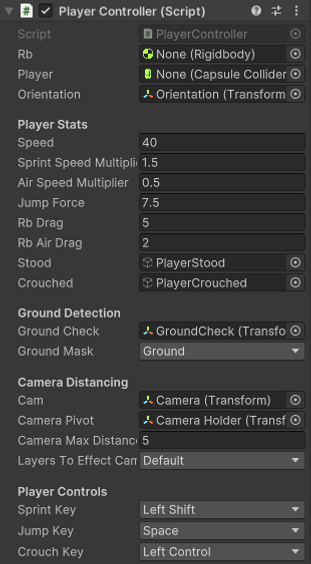
There are three types of player controllers in this kit, one first person, one third person and one isometric. When making these controllers I wanted to make sure that most variables were public and that a lot of the scripts can be edited easily for future projects. This is because most projects involve specific player controllers and therefore a base controller needs to be easily understood and adjustable for these situations.
When writing the character controller script for the third person I wanted to write it so that the same script could be applied to the first person controller, the main thing to consider here was to make sure the camera tracking part of the script was very open ended when editing in engine. To do this I put the camera inside of an empty object, the empty object acted as the part of the camera tracking that rotated the camera then the camera sits inside of this transform always facing the player as the empty object is placed at the player’s centre. All that’s done then is setting the offset of the camera to any value wanted, so for third person setting the offset at 5 pushes the camera outside the player body while still focusing on the player. Then for first person setting the offset to 0 keeps the camera inside the player body, giving a first-person effect. The camera also uses a raycast so that when in third person the camera cannot clip through walls or the ground. Most of the other processes within this script are the same, a lot of the controls and values can be edited in the editor.
For the isometric player a different script is used, again most of the processes are adjustable in engine. The difference with the isometric script is that the camera tracking works differently, as the camera is at a fixed rotation and position a separate script is used to track the player, this allows the developer to adjust the cameras offset and it ‘tracking smooth speed’ (which just makes the camera follow the player at a slower, smoother pace). The rest of the controller just locks the players rotation and makes sure that the controls always seems like w is upwards, s is downwards, and a and d are left and right.


Particle Systems
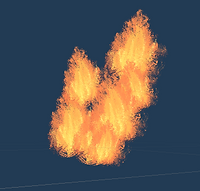
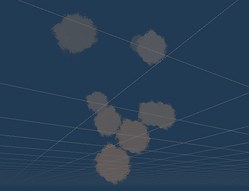
I wanted to create some simple particle systems as I find that when used in projects they help to add a lot of atmosphere and can also be used to draw the players eye. Making the systems didn't require a whole lot, all I needed to do was create empty prefabs for each system, adjust unity's built in particle system component to create the desired effect for each and create some simple sprites to help illustrate what each system is (electrical sparks, fire, smoke, leaves blowing, wind strokes, etc.).